How to Design a Bulletproof Vest

When creating a bulletproof vest, it's important to consider a number of variables, including the best bullet-resistant materials to use, the correct level of protection, and how well-fitted and comfortable the vest will be for the wearer. The steps that are normally taken when constructing a bulletproof vest are as follows:
Choosing the right bulletproof material: Kevlar, Spectra, and Goldflex are the three most popular materials for bulletproof vests. These substances can disperse and absorb a bullet's energy, stopping it from penetrating the body.
Determining the required protection level that: Bulletproof vests are rated according to the level of protection they offer, with Level III-A being the most popular. The National Institute of Justice created this grading system, which shows the degree of defense against various types of projectiles.
Design the vest: Once the type of bullet-resistant material and the level of protection have been determined, the vest can be designed. This typically involves creating a pattern for the vest and cutting the bullet-resistant material to size.
Assemble the vest: The next step is to assemble the vest by sewing the bullet-resistant material to the inner lining of the vest. Additional features such as pockets and straps can also be added at this stage.
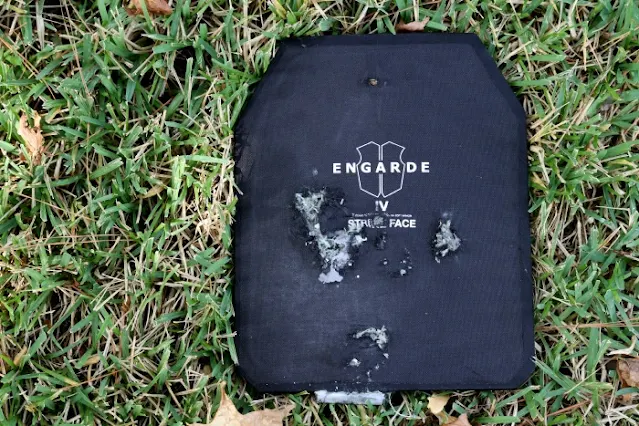
Test the vest: Before the vest is considered ready for use, it needs to be tested for its level of protection. This involves shooting the vest with a variety of bullets to ensure that it meets the protection level it's intended for.
Finalize the vest: Once the vest has passed testing, it can be finalized by adding any additional features, such as padding or camouflage. After that, the vest is ready to be worn.
It is important to remember that bulletproof vests are only one part of personal protection; they must be worn alongside other protective gear, such as a helmet, and they have a usable life and must be changed after a specific amount of time.